£0.00 0

Basket

No products in the basket.

Continue shopping

Photography Basics

Introduction

Good photos help customers feel confident in what they are buying. You do not need a professional camera or studio setup to take strong product images. Simple, honest photos with good light are more than enough.

This guide walks you through the basics of taking clear and trustworthy photos for your listings using tools you already have at home.


Step 1: Use Natural Light Wherever Possible

Natural daylight is the easiest way to get bright, clear photos.

Tips:

  • take photos near a window
  • avoid direct sunlight, which creates harsh shadows
  • turn off indoor lights to avoid orange colour tones
  • cloudy days are great for soft, even lighting
Product placed near a bright window with soft daylight.

Step 2: Keep the Background Clean and Simple

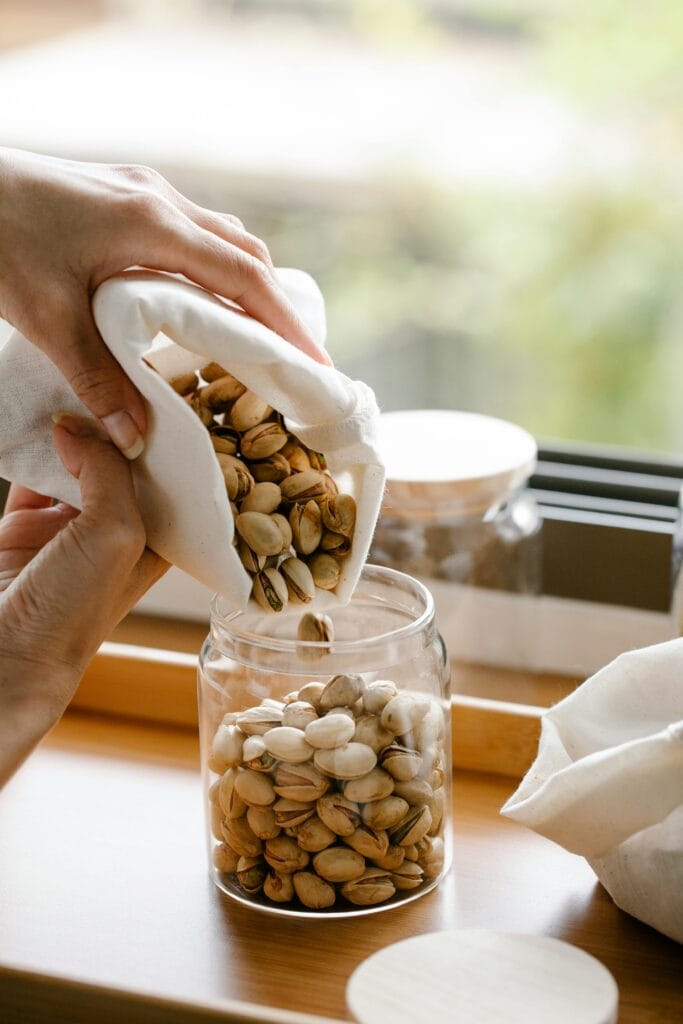
A plain background helps customers focus on the product.

Good options:

  • white card or paper
  • a simple table surface
  • a blanket or fabric backdrop
  • a chopping board or wooden tray

Try to avoid busy patterns or clutter.


Step 3: Take a Clear Main Photo First

Your main photo is the one shoppers see in search results.

Make sure:

  • the whole product is in frame
  • the product is centred
  • the image is sharp
  • lighting is even
  • colours look accurate

This photo should show exactly what customers can expect.


Step 4: Add Supporting Photos for Detail and Trust

Supporting photos help customers understand size, texture and quality.

Include:

  • a close up image
  • a side or back view
  • packaging if relevant
  • a size reference (for example, next to a coin or on a hand)
Close up detail photo

Customers love clarity.


Step 5: Hold Your Camera Steady

Blurry photos reduce trust and can lead to fewer sales.

Simple ways to keep your camera steady:

  • rest your elbows on the table
  • place your phone on a stack of books
  • use the timer so you are not pressing the button while shooting
  • clean your camera lens before taking photos

Clear photos increase customer confidence.


Step 6: Show an Honest View of the Product

Your photos should match what the customer receives.

Show:

  • natural texture
  • true colours
  • normal imperfections in handmade items
  • real size and scale

Honest photos help avoid misunderstandings and reduce refunds.


Step 7: Check the Framing Before Uploading

Before adding your photos to your listing, check:

  • is the product centred
  • is the lighting even
  • are the images sharp
  • is the background distracting
  • do the colours look natural
  • do the photos show the product clearly from all angles

Step 8: Avoid Heavy Editing or Filters

Filters change the colour and can mislead customers. A simple brightness adjustment is fine, but avoid:

  • colour filters
  • smoothing
  • artificial lighting effects

Aim for honesty, not perfection.


Step 9: Take More Photos Than You Need

Most sellers use only their best three to five photos.
Taking multiple angles gives you options to choose from.

Do not worry about taking too many. You can delete the extras.


Summary

Stronger product photos come from simple everyday techniques:

  • use natural light
  • keep the background clean
  • take one clear main photo
  • add supporting detail photos
  • keep the camera steady
  • show the real product honestly
  • avoid over editing

Clear and honest photos help customers trust your work and feel confident placing an order.


Need more help?

If you have questions or want support from other sellers, visit the Seller Community:
https://social.greatbritishfarmersmarket.co.uk/

Return to the Knowledge Base:
https://greatbritishfarmersmarket.co.uk/knowledge-base/

Was this article helpful?

Related Articles

Leave a Reply

Your email address will not be published. Required fields are marked *